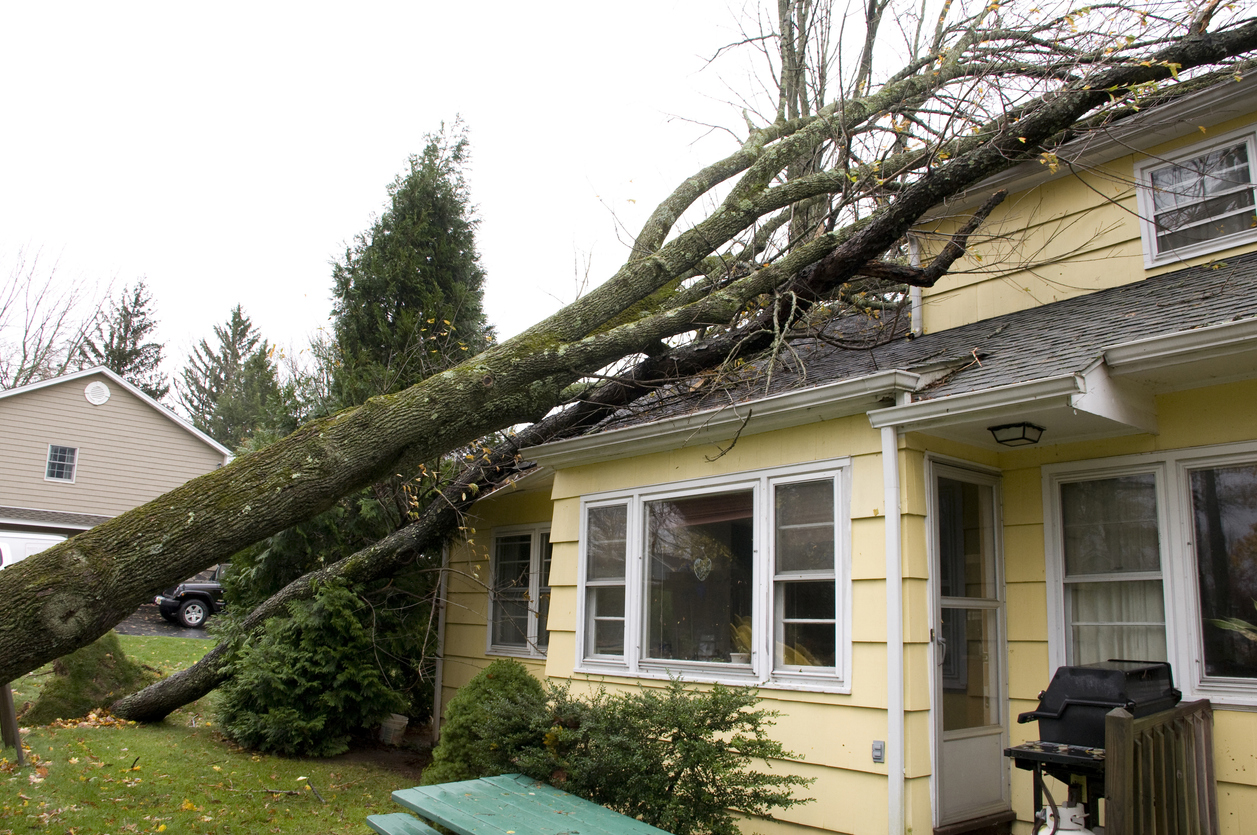
Wind damage can wreak havoc on your roof, especially during severe storms or hurricanes. If you’ve recently experienced strong winds and suspect your roof might have sustained damage, filing a claim promptly is crucial. This guide will walk you through the seven steps to file a claim for wind damage to your roof. Understanding how to navigate the process effectively will ensure you get the compensation needed to repair or replace your roof.
Step 1: Assess the Damage Immediately
The first step after a storm is to assess the wind damage to your roof. Look for signs such as wind-damaged roof shingles, missing tiles, or visible dents and cracks. While inspecting, be cautious and avoid climbing onto your roof, as it might be unstable. You can perform a preliminary check from the ground, using binoculars if necessary. Common signs of wind damage roof include:
- Missing or curled shingles
- Cracked or torn flashing
- Dents in gutters or roofing materials
- Loose or exposed nails
If you’re uncertain, hire a professional to inspect the roof and provide an accurate report on what does wind damage look like on a roof. Hiring an expert also ensures the damage is properly documented, which is essential for filing an insurance claim.
Step 2: Document the Damage Thoroughly
Before you proceed with your claim, document all evidence of the roof wind damage. Take clear, high-quality photos and videos of the affected areas, including damaged shingles, debris, and any visible structural issues. Be sure to record:
- Dates and times of the storm
- Any immediate repairs or temporary fixes
- Receipts of emergency services or roofing assessments
This documentation will help substantiate your claim and speed up the insurance process. Additionally, you can include weather reports as proof of the storm that caused the damage.
Step 3: Review Your Insurance Policy
Before filing a claim, review your homeowner’s insurance policy to understand what it covers regarding wind damage to roof. Policies often differ in terms of coverage, deductibles, and limitations, so it’s important to verify the following:
- Does your policy cover wind-damaged roof shingles?
- What is the deductible for wind and storm damage claims?
- Are there exclusions or specific conditions for roof damage?
Being familiar with your policy details will prepare you for discussions with your insurance provider. It will also help you avoid surprises when it comes to the extent of coverage.
Step 4: Contact Your Insurance Company
Once you’ve documented the damage and reviewed your policy, contact your insurance company to initiate the claims process. Be prepared to provide them with the photos, videos, and any assessments or reports from a professional roofer. Inform them of the wind damage roof shingles and other specific issues you’ve identified. During this conversation, ask questions such as:
- What is the timeline for processing wind damage claims?
- Will an insurance adjuster be sent to inspect the damage?
- What additional documentation is required?
Make sure to keep a record of your communication with the insurance company, including the names of representatives and any instructions or next steps they provide.
Step 5: Schedule an Inspection with an Adjuster
After notifying your insurance company, they will likely send an adjuster to inspect the wind damage roof. The adjuster’s role is to assess the damage and determine the amount of compensation you are eligible to receive. To ensure the process goes smoothly:
- Be present during the inspection.
- Have your documentation and photos ready to show.
- Point out specific damages, such as wind-damaged roof shingles, that might not be immediately visible to the adjuster.
You can also request a roofing contractor to be present during the inspection to provide their expertise. This helps ensure that all damage is accurately identified.
Step 6: Get Repair Estimates from Roofing Contractors
While waiting for your insurance claim to be processed, obtain repair or replacement estimates from licensed roofing contractors. Having multiple estimates will give you an idea of the repair costs and help ensure that the insurance payout is sufficient to cover the necessary repairs. When selecting a contractor, look for one experienced in dealing with roof wind damage. If you live in Florida, you can reach out to Care Public Adjusters Florida for assistance with selecting the right contractors and navigating the claims process.
Step 7: Submit Your Claim and Follow Up
Once you have gathered all the necessary documentation and the adjuster’s report, submit your claim to your insurance company. Include everything—photos, videos, repair estimates, and the adjuster’s assessment. After submission, it’s essential to stay in communication with your insurance provider to ensure your claim is being processed in a timely manner.
If any issues arise or if you feel the compensation offered is insufficient, you can consider hiring a public adjuster. Public adjusters are professionals who work on your behalf to negotiate with the insurance company. You can contact Care Public Adjusters Florida for expert advice and assistance in dealing with complicated claims.
Conclusion
Filing a claim for wind damage to roof can seem daunting, but following these steps will simplify the process. Assess and document the damage, understand your policy, and communicate clearly with your insurance company. By being proactive and prepared, you’ll increase your chances of receiving adequate compensation for your roof repairs. Remember, having the right experts by your side—such as roofing contractors and public adjusters—can make a significant difference in the outcome of your claim.
For more information on filing claims for wind damage, check out Wind and Hail Damage Claims to understand how professionals can assist in ensuring your claim is successful.


